
|
 29 September 2023, 06:45
|
#1 |
|
Registered User
Join Date: Nov 2018
Location: Québec / Canada
Age: 44
Posts: 28
|
amiga 600 KS ROM broken socket replacement
Hi, the ks rom socket of an a600 rev 1.5 got a pin pushed inside and so it's very difficult to make contact with the rom. If you pry or stick stuff inside you can force contact with the rom and the socket and the system then work, but is kind of flimsy and prone to crash at the slightest bump.
I have spare socket and I would consider a replacement operation, but of course I'm highly worried about breaking the amiga600 ! I was thinking about putting the pcboard upside down and de-soldering the legs of the socket using a soldering pump. It seem to me a risky exercise and I would be glad if people have advice to share or alternative way to repair that ? I put a black marker next to the broken leg, but with macro lens the damage is obvious to see. 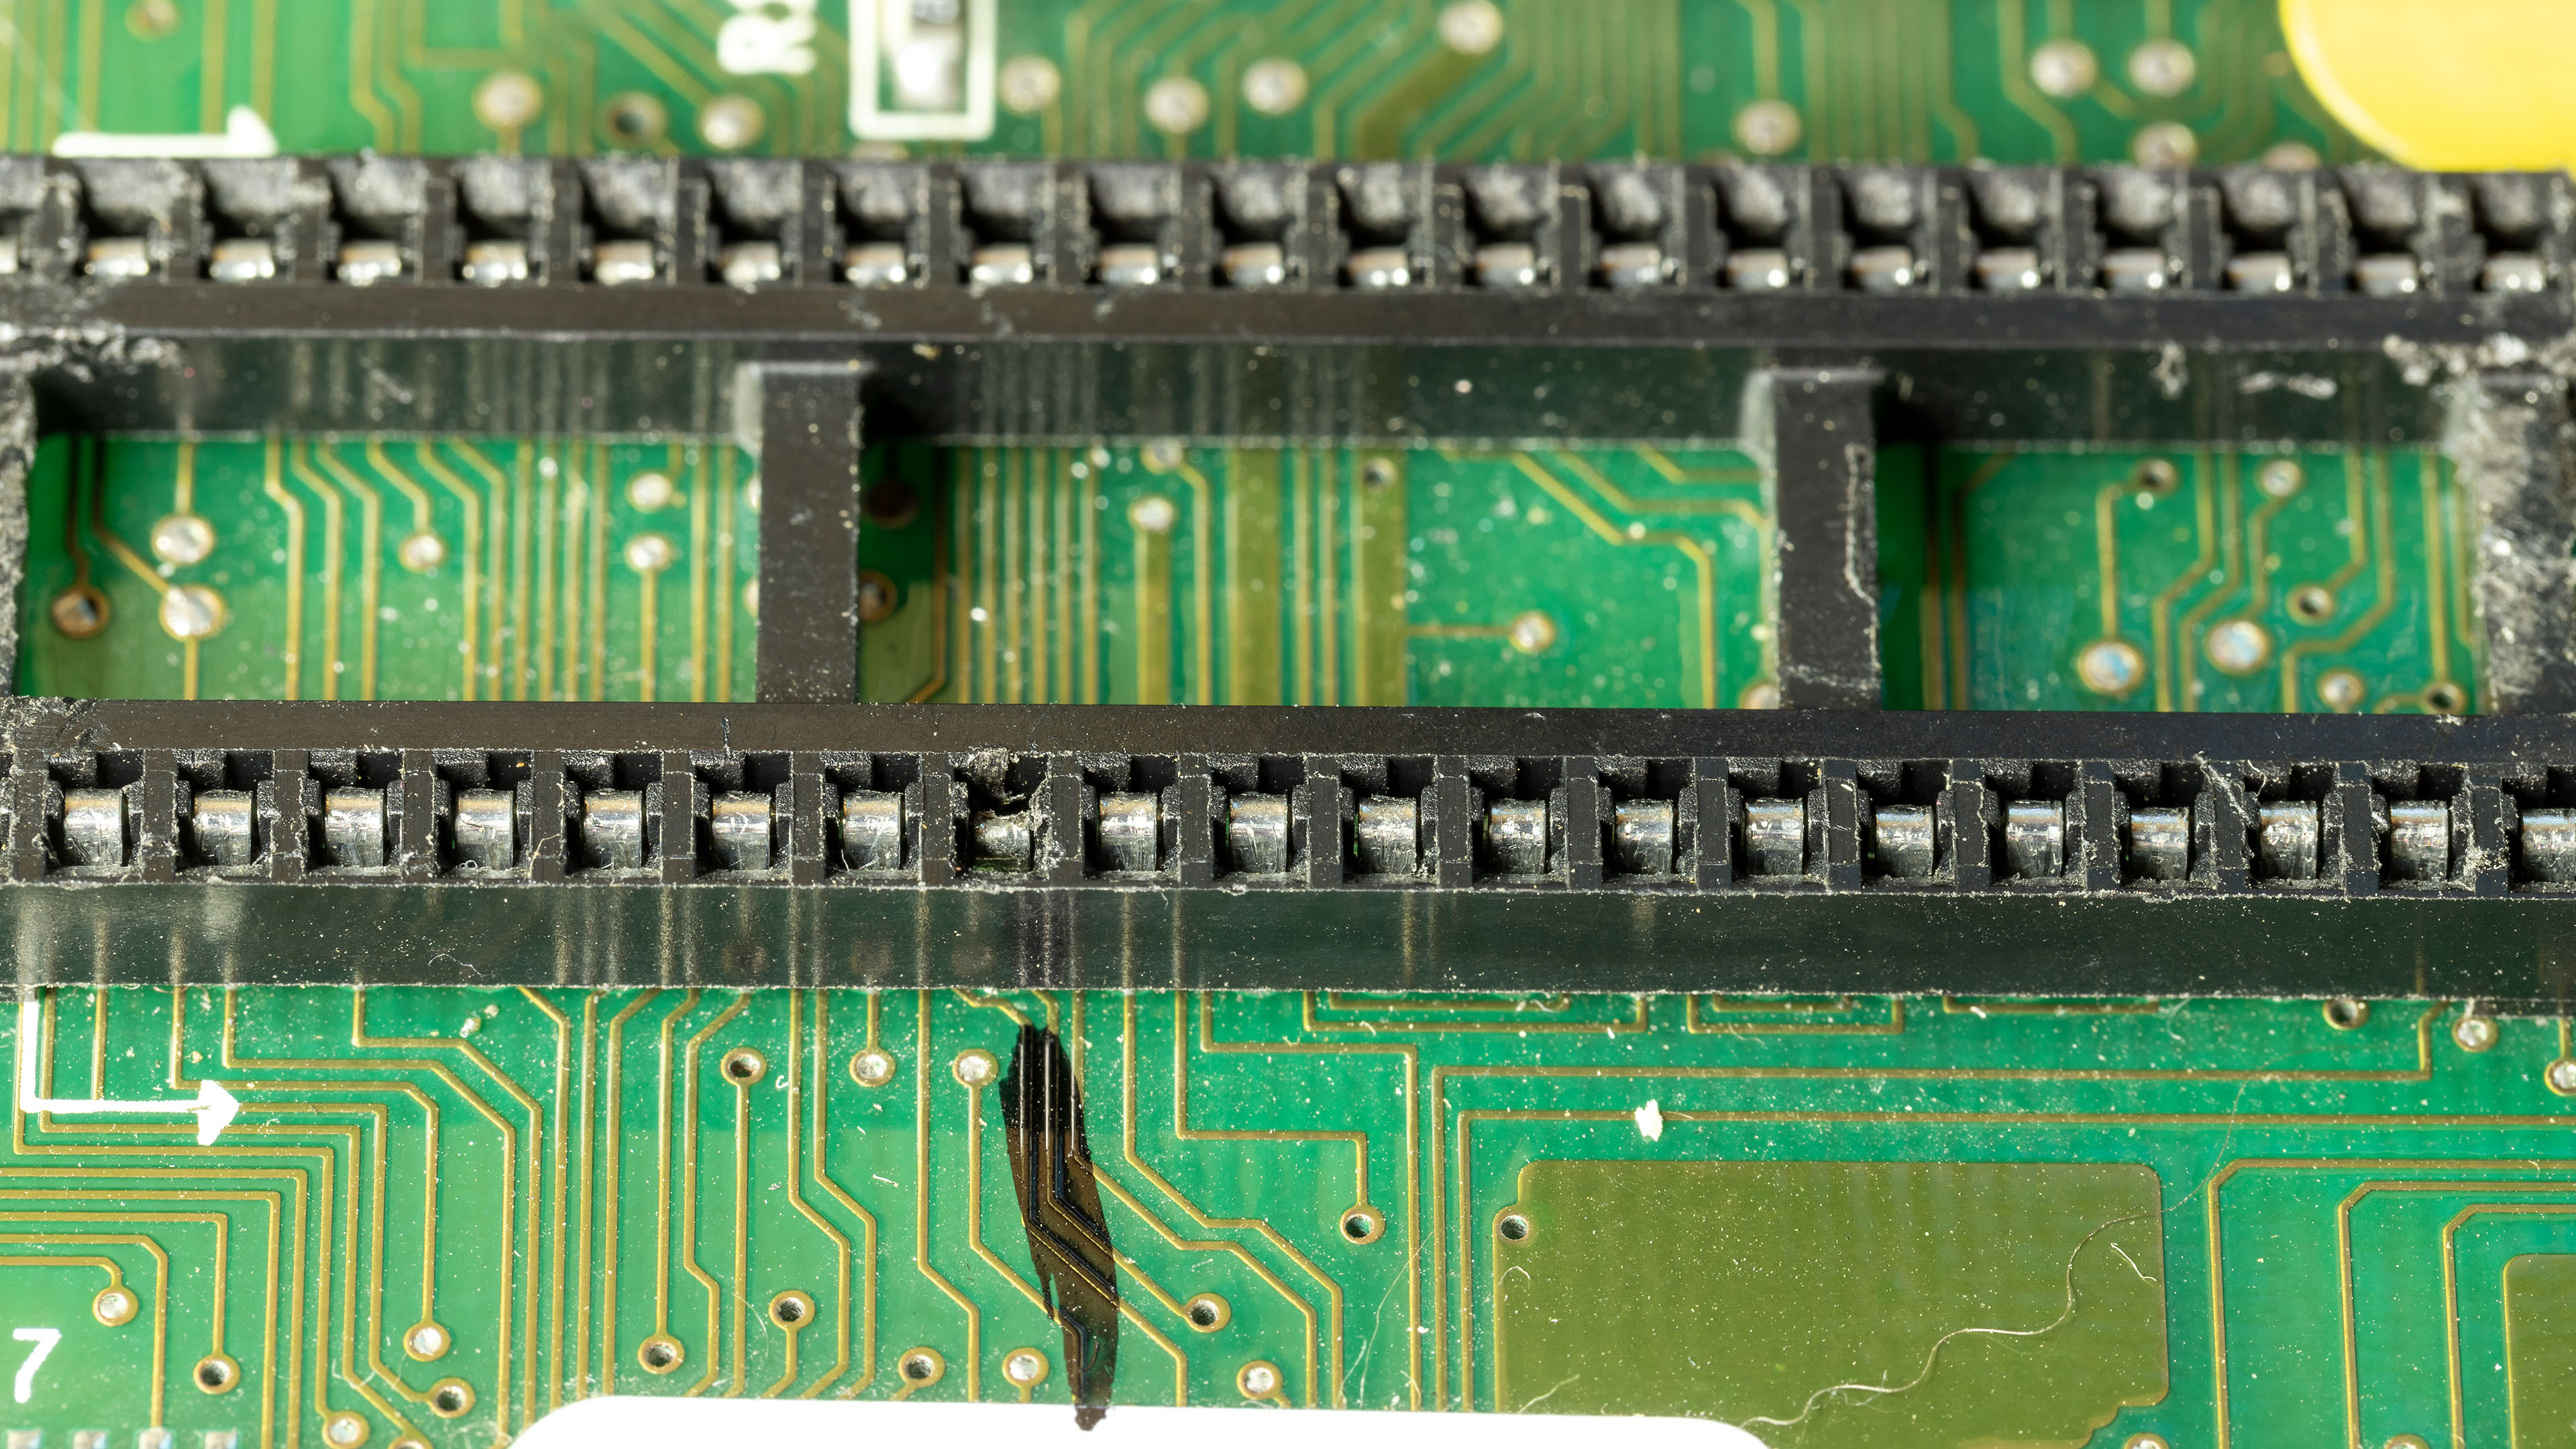
|

|
|
29 September 2023, 07:25
|
#2 |
|
Registered User
Join Date: Jun 2023
Location: UK
Posts: 55
|
It looks like you have no option but to replace the socket. The ROM socket is "only" 40 pins so it shouldn't take too long.
Here are my tips: 1. Use a good soldering iron. 2. Put plenty of flux on the pins. 3. Apply some new solder to each pin first - yes I know that seems counter intuitive but it helps the old solder to flow. 4. Desolder each pin. 5. Don't rush as that tends to be the cause of most problems. 6. Clean the area thoroughly before you fit the new socket. 7. Apply more flux and solder each pin carefully. 8. Clean the area with IPA after you have finished. |
|
|
|
29 September 2023, 17:04
|
#3 |
|
Registered User
Join Date: Feb 2016
Location: Homeless
Posts: 63
|
Desoldering pumps are nice, it just takes some patience to free each pin. But for broken components there's an easier and faster way: Destroy the old socket with side cutters. Then desolder the pins, one by one. Then use the desoldering pump to remove the solder.
Alternately, a quick and dirty hack would be to solder the new socket stacked on top of the old one. But I'd prefer to desolder the old socket. |
|
|
|
29 September 2023, 18:45
|
#4 |
|
Registered User
Join Date: Nov 2018
Location: Québec / Canada
Age: 44
Posts: 28
|
Thanks Kepler for the clear answer, I will certainly review it at the time of event. There is concept I did not expect but I think are quite good, such as use flux to de-solder and use new solder to help de-soldering. Of course I want to be as careful as possible and I think this will help in that regard. Spare no expense !
Thank you also nocash for your input. I would not call alternative "quick and dirty" if they allow to minimize the chance of an incident. I considered and validated the space for the socket over socket fix, but I think in the long run it might not be a paying solution. I inspected a spare socket and I'm not sure you can just remove the plastic then the pins, it seem there is a flooring under the socket where each pin pass through a hole and I dont see this coming out easy even if the plastic part of the socket is cut. I'm now more confident in my project and think I will go forth with the procedure, so I have a new question. Do you think top quality socket are worth it ? They seem to me the female part of the pins are more precise hence there is more chance to bend a rom pin. It seem to me that plane socket are more adaptive to those old eprom where pins show sign of use and are not very straight. round socket :  plane socket : 
|
|
|
|
30 September 2023, 04:40
|
#5 |
|
Registered User
Join Date: Nov 2018
Location: Québec / Canada
Age: 44
Posts: 28
|
I'm glad to report that the operation was a success !
 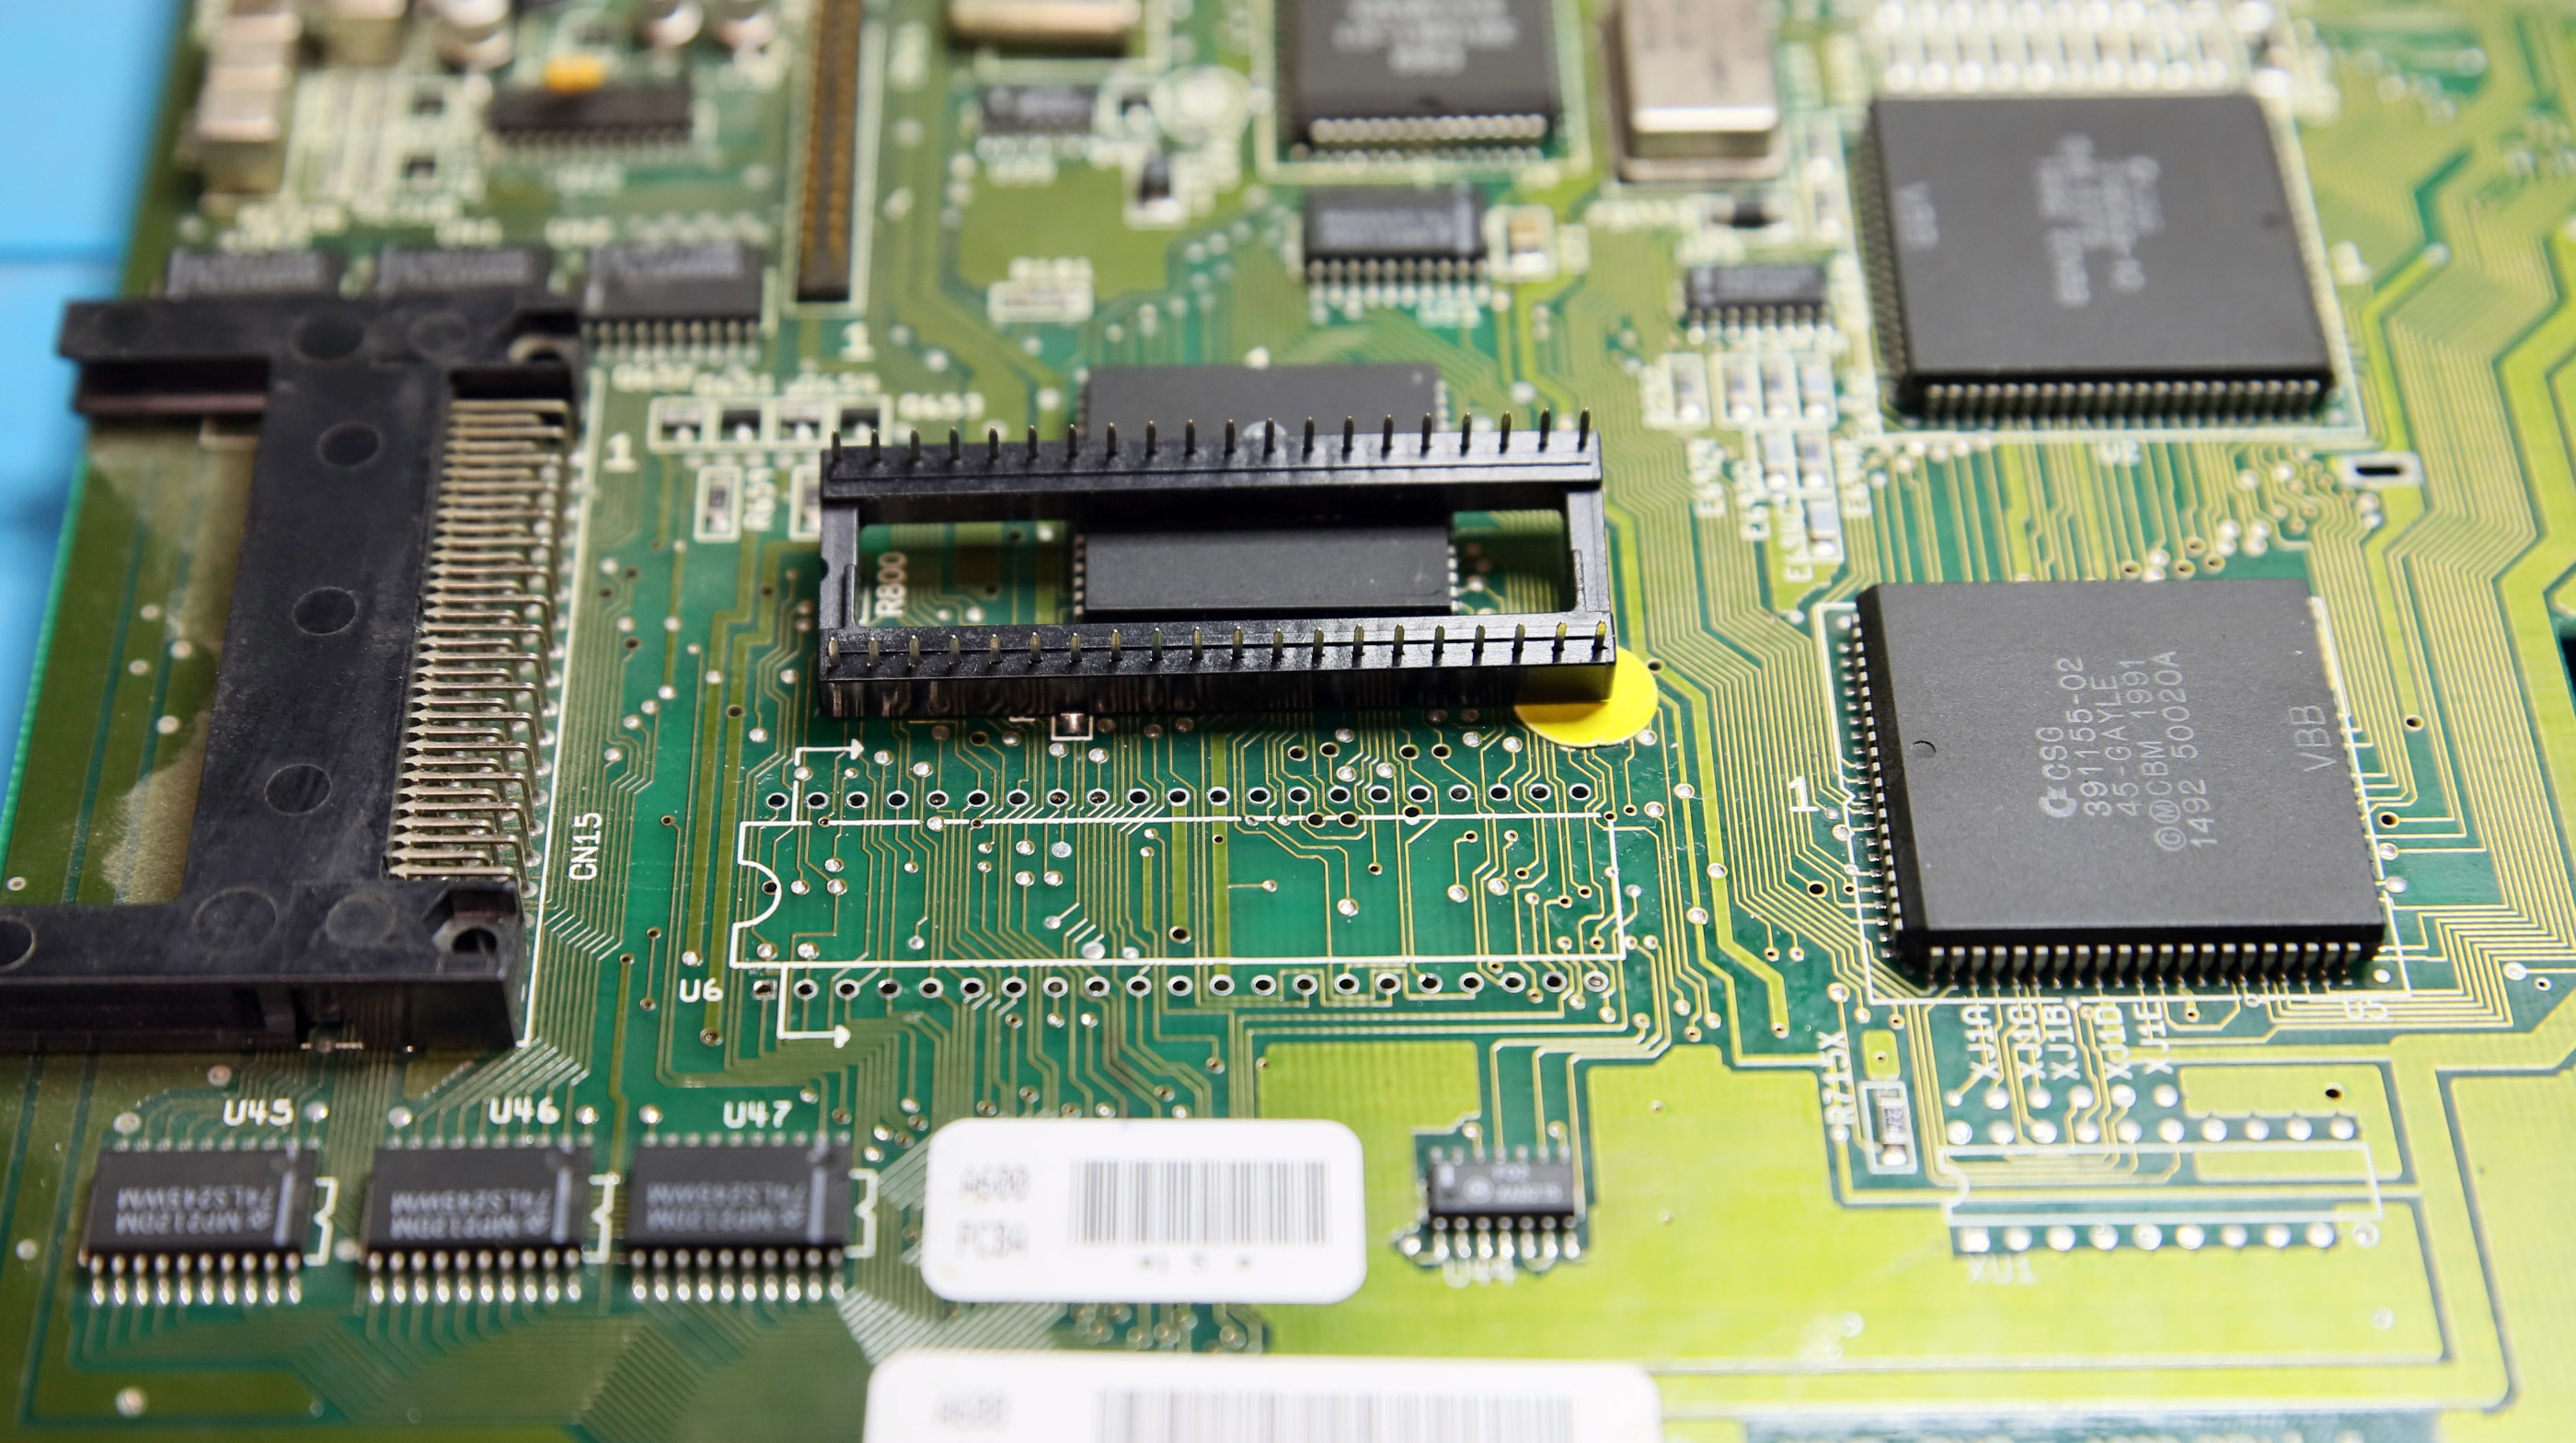 Good thing I also had some fine-braid, it was instrumental to finish the job and clean the residual solder. Maybe my pump is too old too, the nozzle is very blunt by now. I also noticed the Amiga original socket was not made like the spare one I used. Then I see now how the nocash idea would had worked. 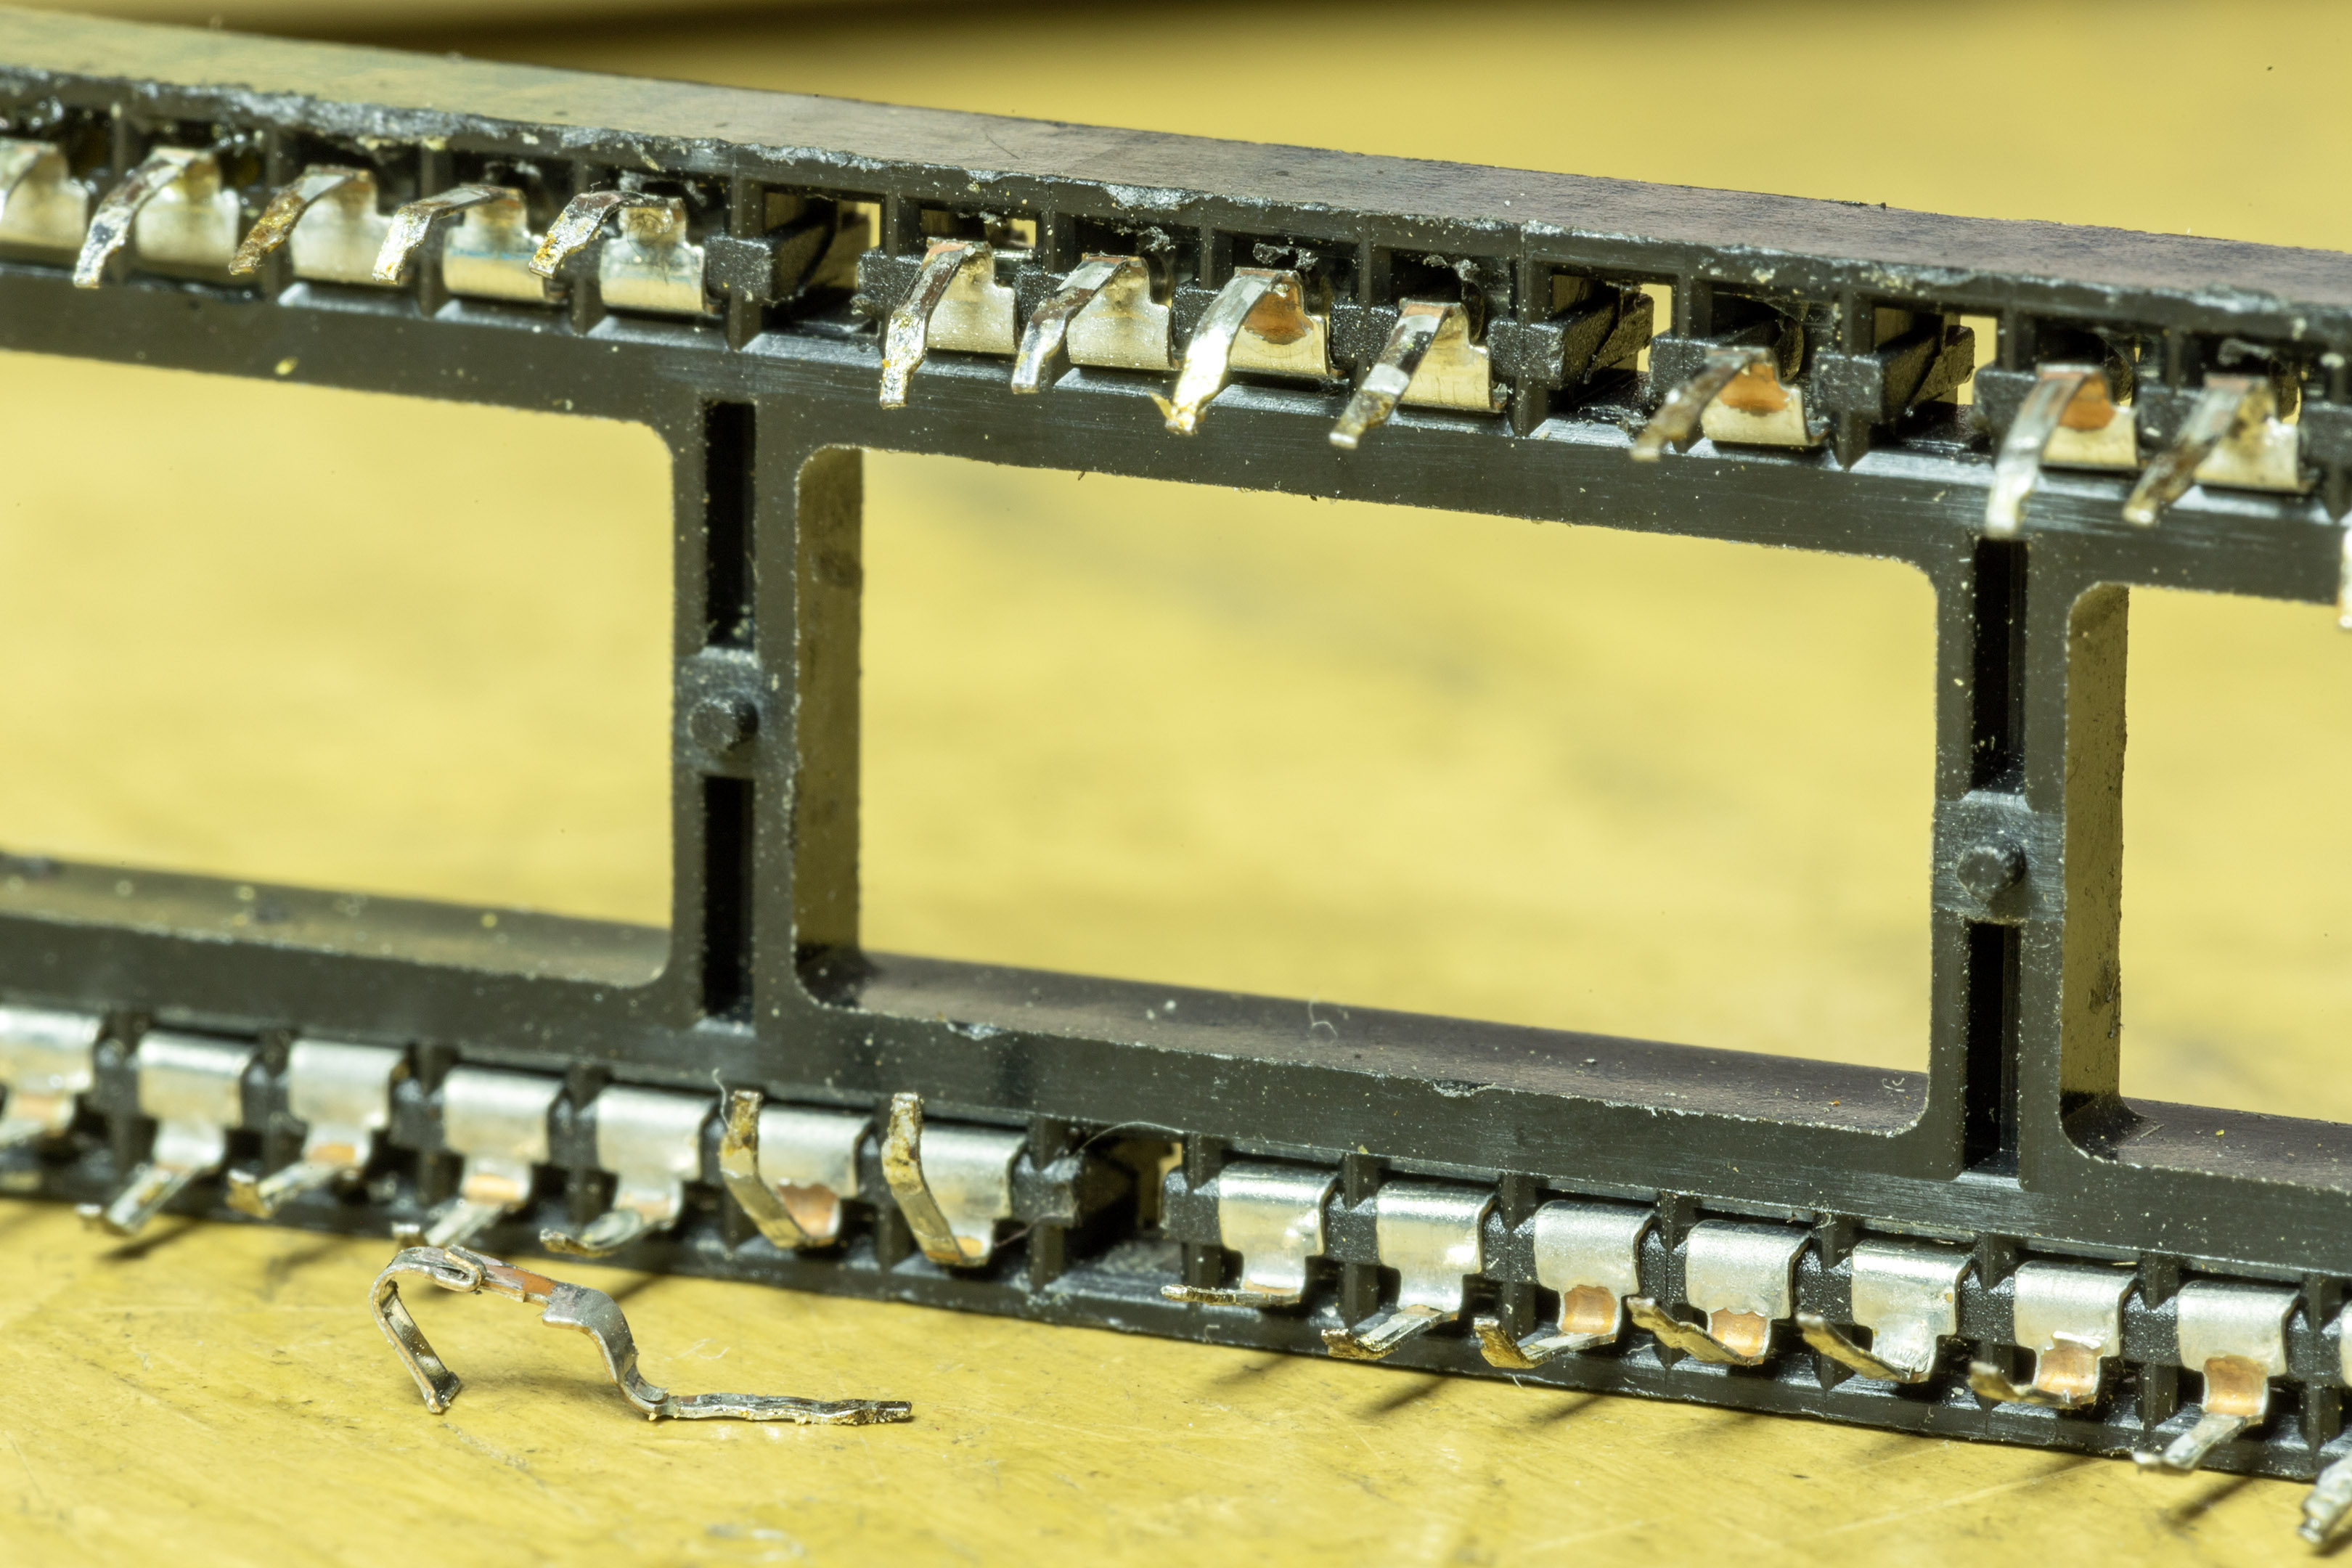 I'm surprised to see the two leftmost unpopulated socket legs are connected on the board, it was always a mystery to me why the Amiga ks rom socket are made that way, quick research all lead to some switching mechanism. |
|
|
| Currently Active Users Viewing This Thread: 1 (0 members and 1 guests) | |
| Thread Tools | |
 Similar Threads
|
||||
| Thread | Thread Starter | Forum | Replies | Last Post |
| Strange chip on ROM socket Amiga 500 | mjnman | support.Hardware | 5 | 25 July 2020 21:03 |
| Broken processor socket | Signman | support.Hardware | 6 | 07 February 2018 19:08 |
| ACA620EC replacement CPU socket. Where to purchase? | mamejay | support.Hardware | 8 | 01 February 2017 01:14 |
| Amiga 600 PSU Socket | Spacemonkey | support.Hardware | 2 | 03 November 2016 10:40 |
| Amiga 600 rev 2D + KS 3.x = no video on boot | jarp | support.Hardware | 5 | 13 September 2016 21:39 |
|
|


