
 |
|
|
#1 |
|
Registered User
Join Date: Feb 2014
Location: USA
Posts: 17
|
Amiga 1000 keyboard restoration
I recently bought an A1000 keyboard and when it showed up it was in pretty ratty shape. Thanks to a few threads on amibay and a1k.org I managed to take apart the keyboard and fully fix and clean it. When it first arrived about 65% of the keys didn't respond. So the first step was to remove the caps.
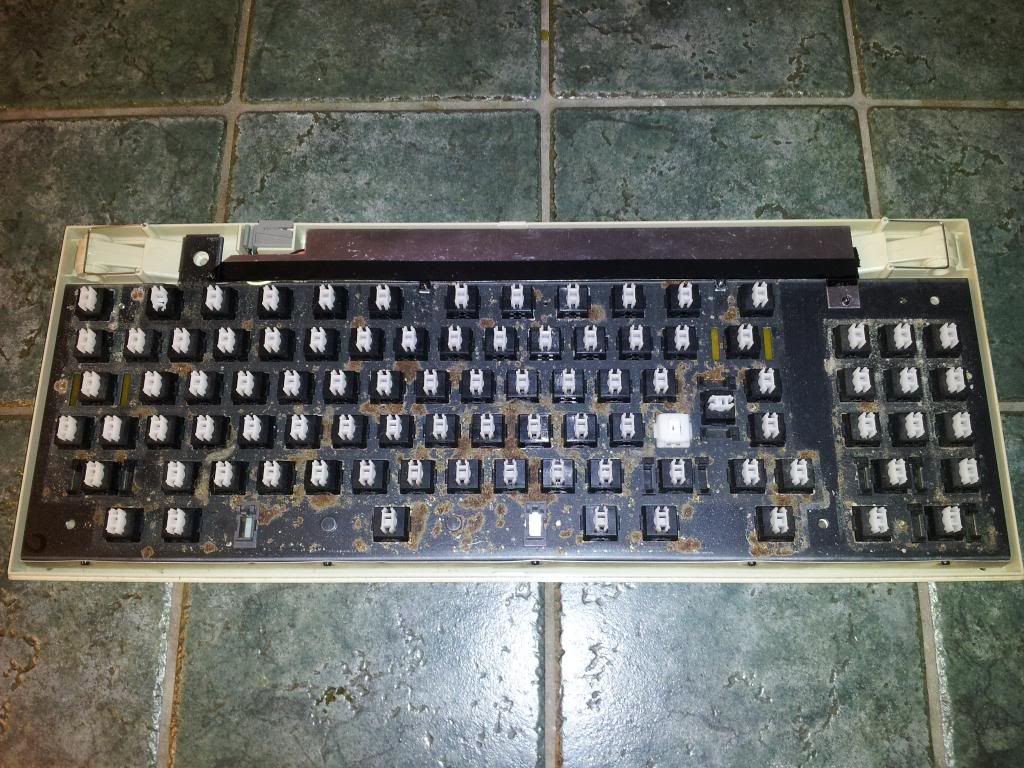 I did this by bending two paper clips into a cap puller (I'm cheap) and the process went well. No broken stems (the F1 key already had a broken stem when it arrived). I'd have to say this is probably the hardest part of the repair as the plastic is old and the risk of breaking the stems on the switches is high. I just took my time and skipped the caps that seemed to be really stuck. Also, wiggling a bit helps pull the cap off easier. Next up was de-soldering each switch. Since the legs are space far apart this was no problem. All I used was a de-soldering bulb and some wick to clean up anything that was missed. The metal plate that the switches sit in is also grounded to the board. 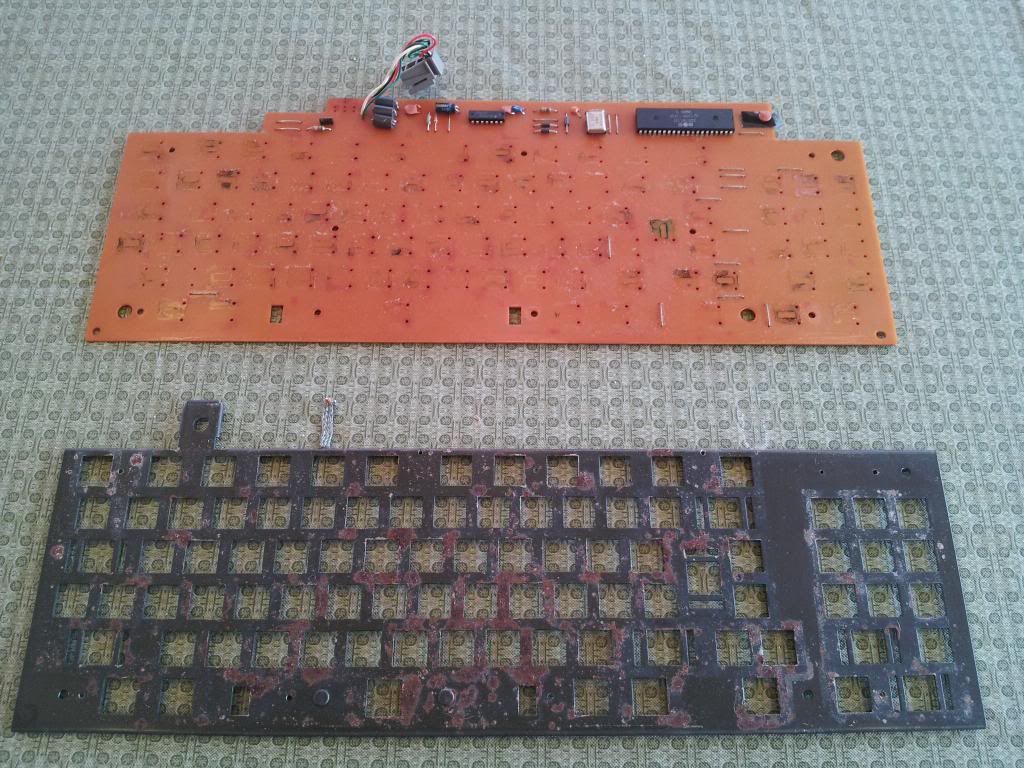 After removing all the switches I sanded the metal back plate with increasingly higher grit sand paper to remove the rust and paint. I also used a wire brush on a dremel tool to remove the rust that was too stubborn to come off with sanding. I also used the wire brush to remove rust in the holes for the switches. Next I wiped down the back plate and gave it several coats of gloss rustoleum. I messed up the fronts paint job and gave it an eggshell texture because the nozzle was not depressing fully when i was painting it. The back has a smooth paint job :P. 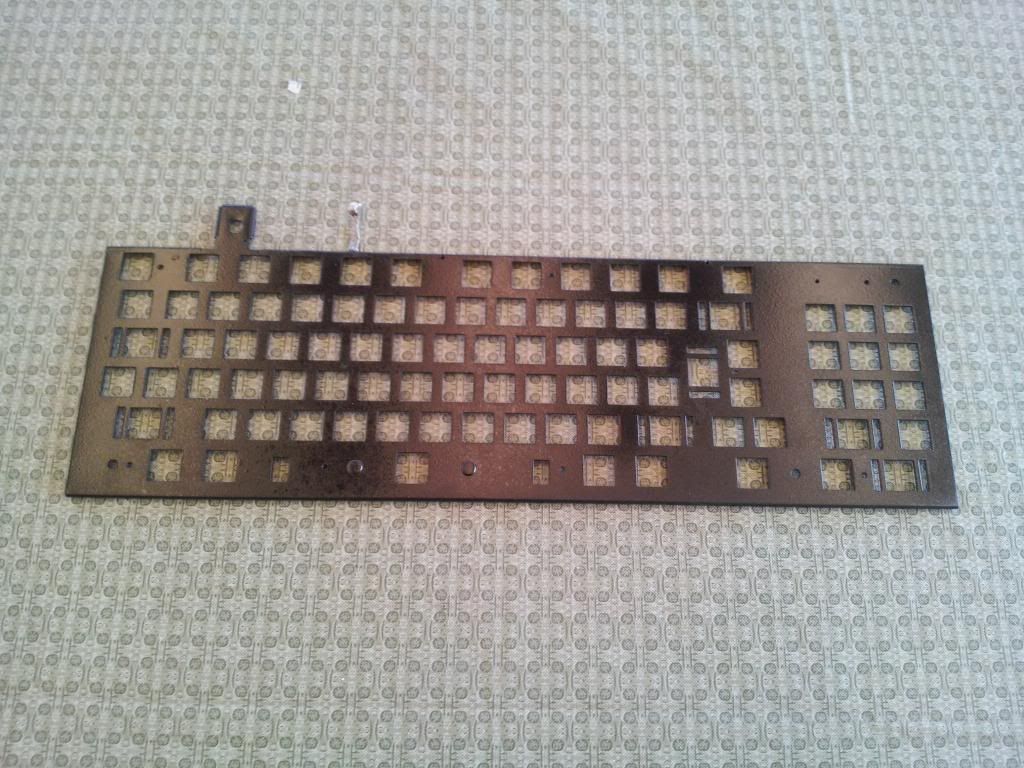 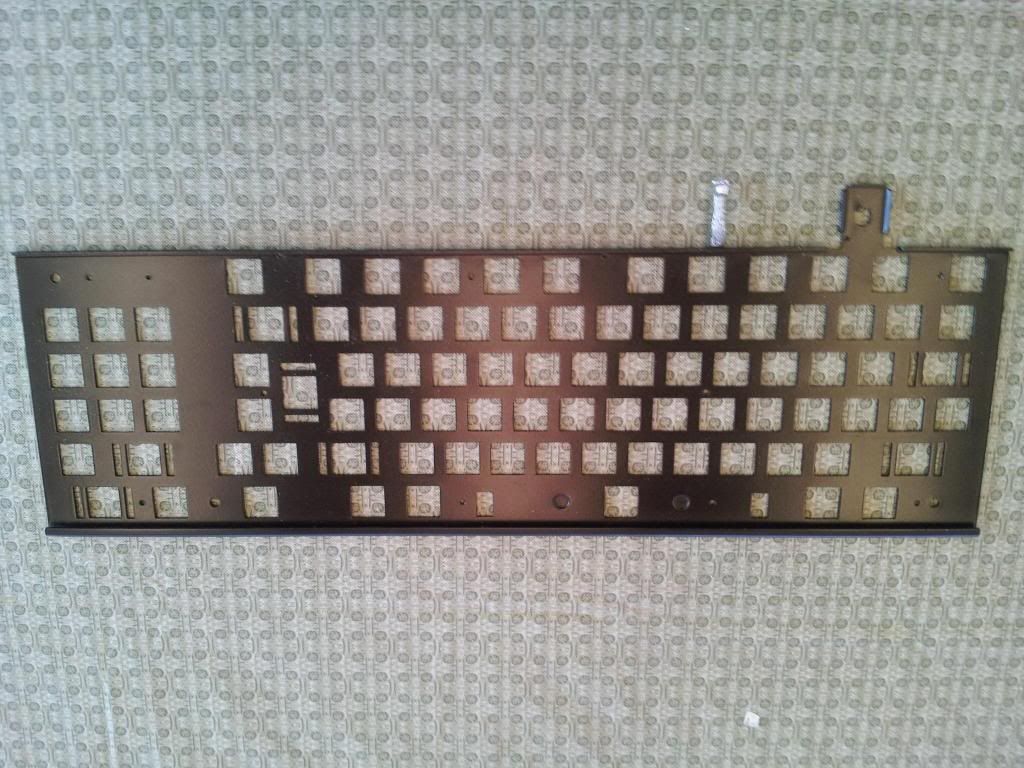 Next on the list was to take apart each switch and clean them. This was the most time consuming process since most of the switches weren't working to begin with. Most of the switches tested fine on my multimeter after I cleaned them but a few needed to be "re-bent" in order to make good contact. In the end all of the switches tested fine after this. The next step was to re-solder everything to the board. I just snapped all the switches into the back plate and lined it up with the board. Soldering was simple since the pcb is nice and roomy. 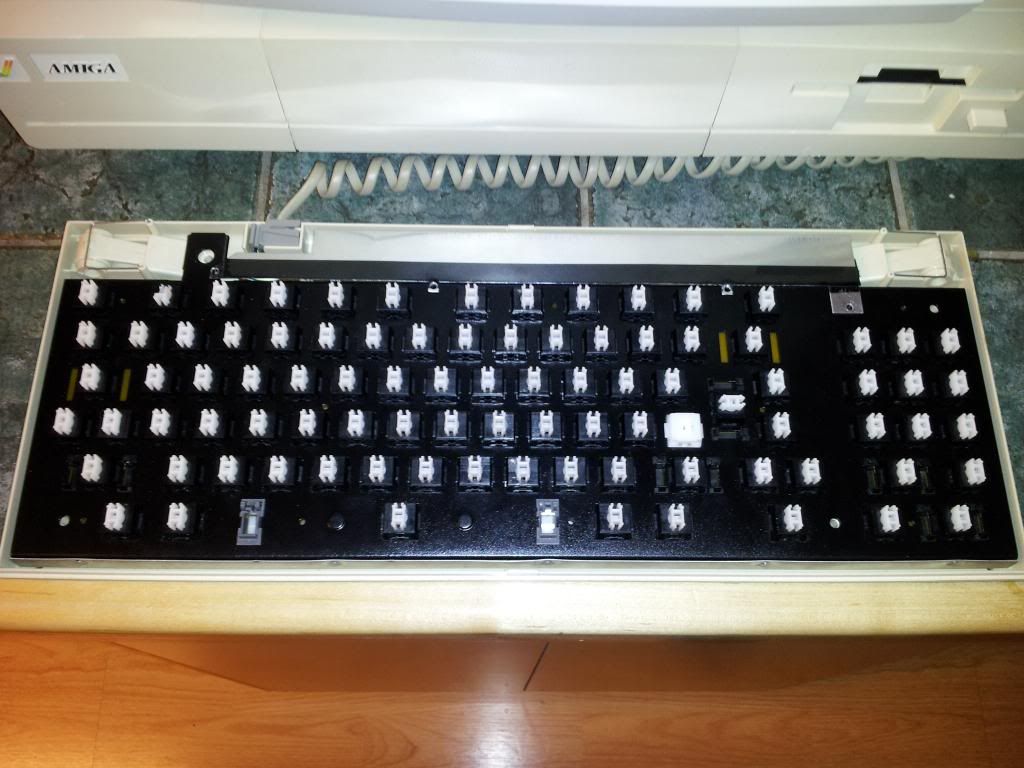 After soldering everything all that was left was to clean the caps. I just let them soak in the sink with a small amount of dish soap then scrubbed each one individually. Once they were dry I popped them back on the stems and put the case back together. 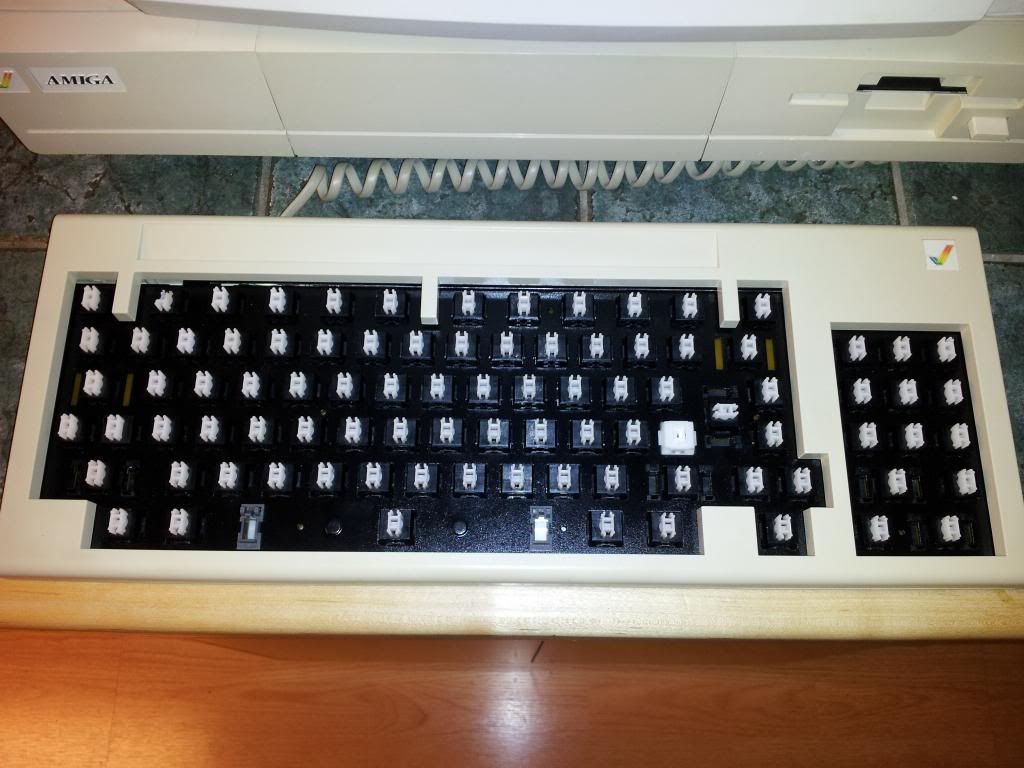 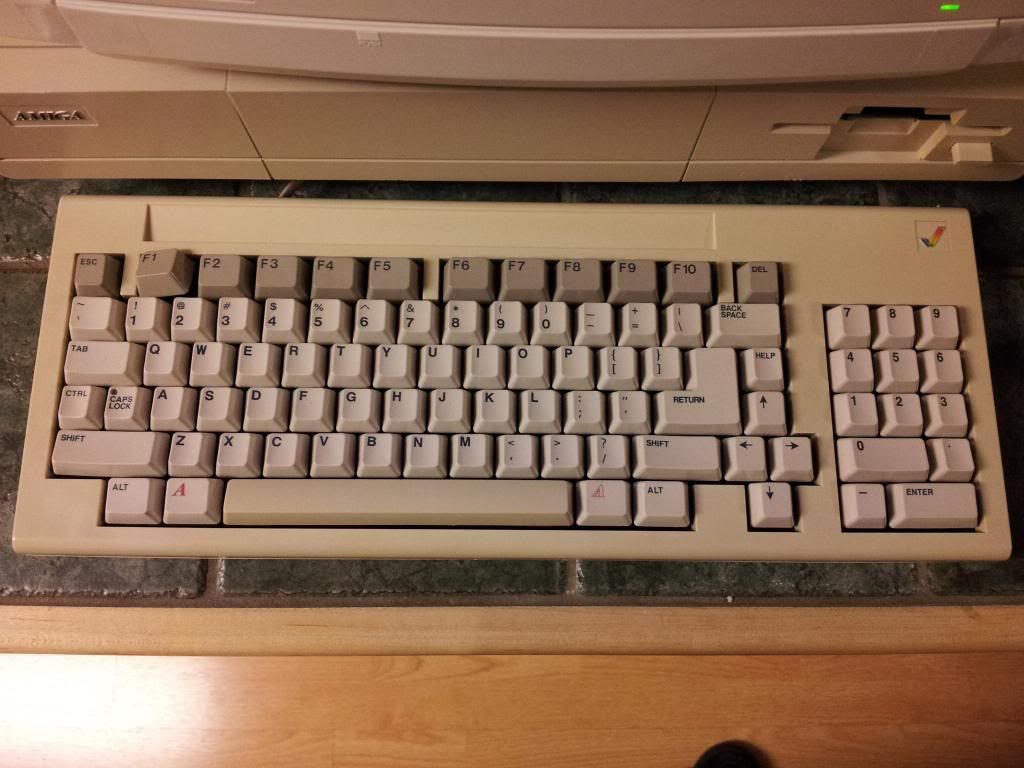 I still have a few things left on my list. I would like to retrobrite the spacebar and the case. As I have never done that before I'll just leave that for another day. Also, I need to replace the stem or maybe glue the F1 key to the broken one. This seems like something someone with a 3d printer could do (anyone own one?  ) Also, pictures were an afterthought for this project so the few I took were hasty and kind of crappy. Sorry about that. ) Also, pictures were an afterthought for this project so the few I took were hasty and kind of crappy. Sorry about that.
|
|
|
|
|
#2 |
|
Registered User
Join Date: Feb 2014
Location: USA
Posts: 17
|
Also, how do I resize these monster pictures?
|
|
|
|
|
#3 |
|
Registered User
Join Date: May 2010
Location: Helsinki, Finland
Posts: 1,341
|
Nice work, I've done almost exactly the same thing, though haven't put it back together yet since a couple of switches broke (need to combine two broken keyboards into one at some point).
If you upload the pictures as attachments to your post rather than link to them, they will be included as nice thumbnails. |
|
|
|
|
#4 |
|
Registered User
Join Date: Feb 2014
Location: USA
Posts: 17
|
What happened to the switches? Was it the plastic? I know these things can be a bit of a pain to open on the first few tries.
|
|
|
|
|
#5 |
|
Registered User
Join Date: May 2010
Location: Helsinki, Finland
Posts: 1,341
|
Well, this one is a used keyboard I got off eBay. A few of those stems broke, perhaps already a long time ago. Something had clearly been poured in, because half of it was rusted just like yours.
Regarding your idea about 3D printing, it might be possible to do, I have had all kinds of little things printed. The common DIY printers don't really have the resolution for this type of stuff, but commercial laser sintering machines can produce some really fine detail. I'll try to draw up a part later. Here are some photos: |
|
|
|
|
#6 |
|
Registered User
Join Date: Feb 2014
Location: USA
Posts: 17
|
Yeah, I don't think I've seen a non-rusty A1000 keyboard
 . I guess pouring your drink on your keyboard isn't a new thing. If we could get an accurate model of the stem I'd like to see if I could get some printed (I wonder how many millions of them I'd have to order? . I guess pouring your drink on your keyboard isn't a new thing. If we could get an accurate model of the stem I'd like to see if I could get some printed (I wonder how many millions of them I'd have to order?  ) )
|
|
|
|
|
#7 |
|
Registered User
Join Date: May 2010
Location: Helsinki, Finland
Posts: 1,341
|
It's no problem to get just one printed, you can look up the prices on ShapeWays for example. It's just the price of the material + a few dollars (I usually model several parts together with sprues, so to speak, to avoid having to pay the handling fee for each part
 ). And shipping of course. ). And shipping of course.I'll see what I can do about the modelling. It's tricky to measure small parts like this accurately enough to get them printed right the first time, but naturally it would be best to keep the number of iterations down. |
|
|
| Currently Active Users Viewing This Thread: 1 (0 members and 1 guests) | |
| Thread Tools | |
 Similar Threads
|
||||
| Thread | Thread Starter | Forum | Replies | Last Post |
| PC keyboard adapter for Amiga 1000 | Franchute13 | Hardware mods | 4 | 08 January 2014 20:39 |
| Amiga 1000 keyboard question | klx300r | support.Hardware | 5 | 04 October 2012 06:10 |
| Amiga 1000 keyboard | mortismaker | support.Hardware | 3 | 20 November 2008 16:49 |
| Mousepointer restoration and varying audio pitch at savestate restoration | NoX1911 | support.WinUAE | 0 | 22 January 2007 20:19 |
| Amiga 1000 keyboard | nash67 | support.Hardware | 4 | 22 July 2003 23:48 |
|
|